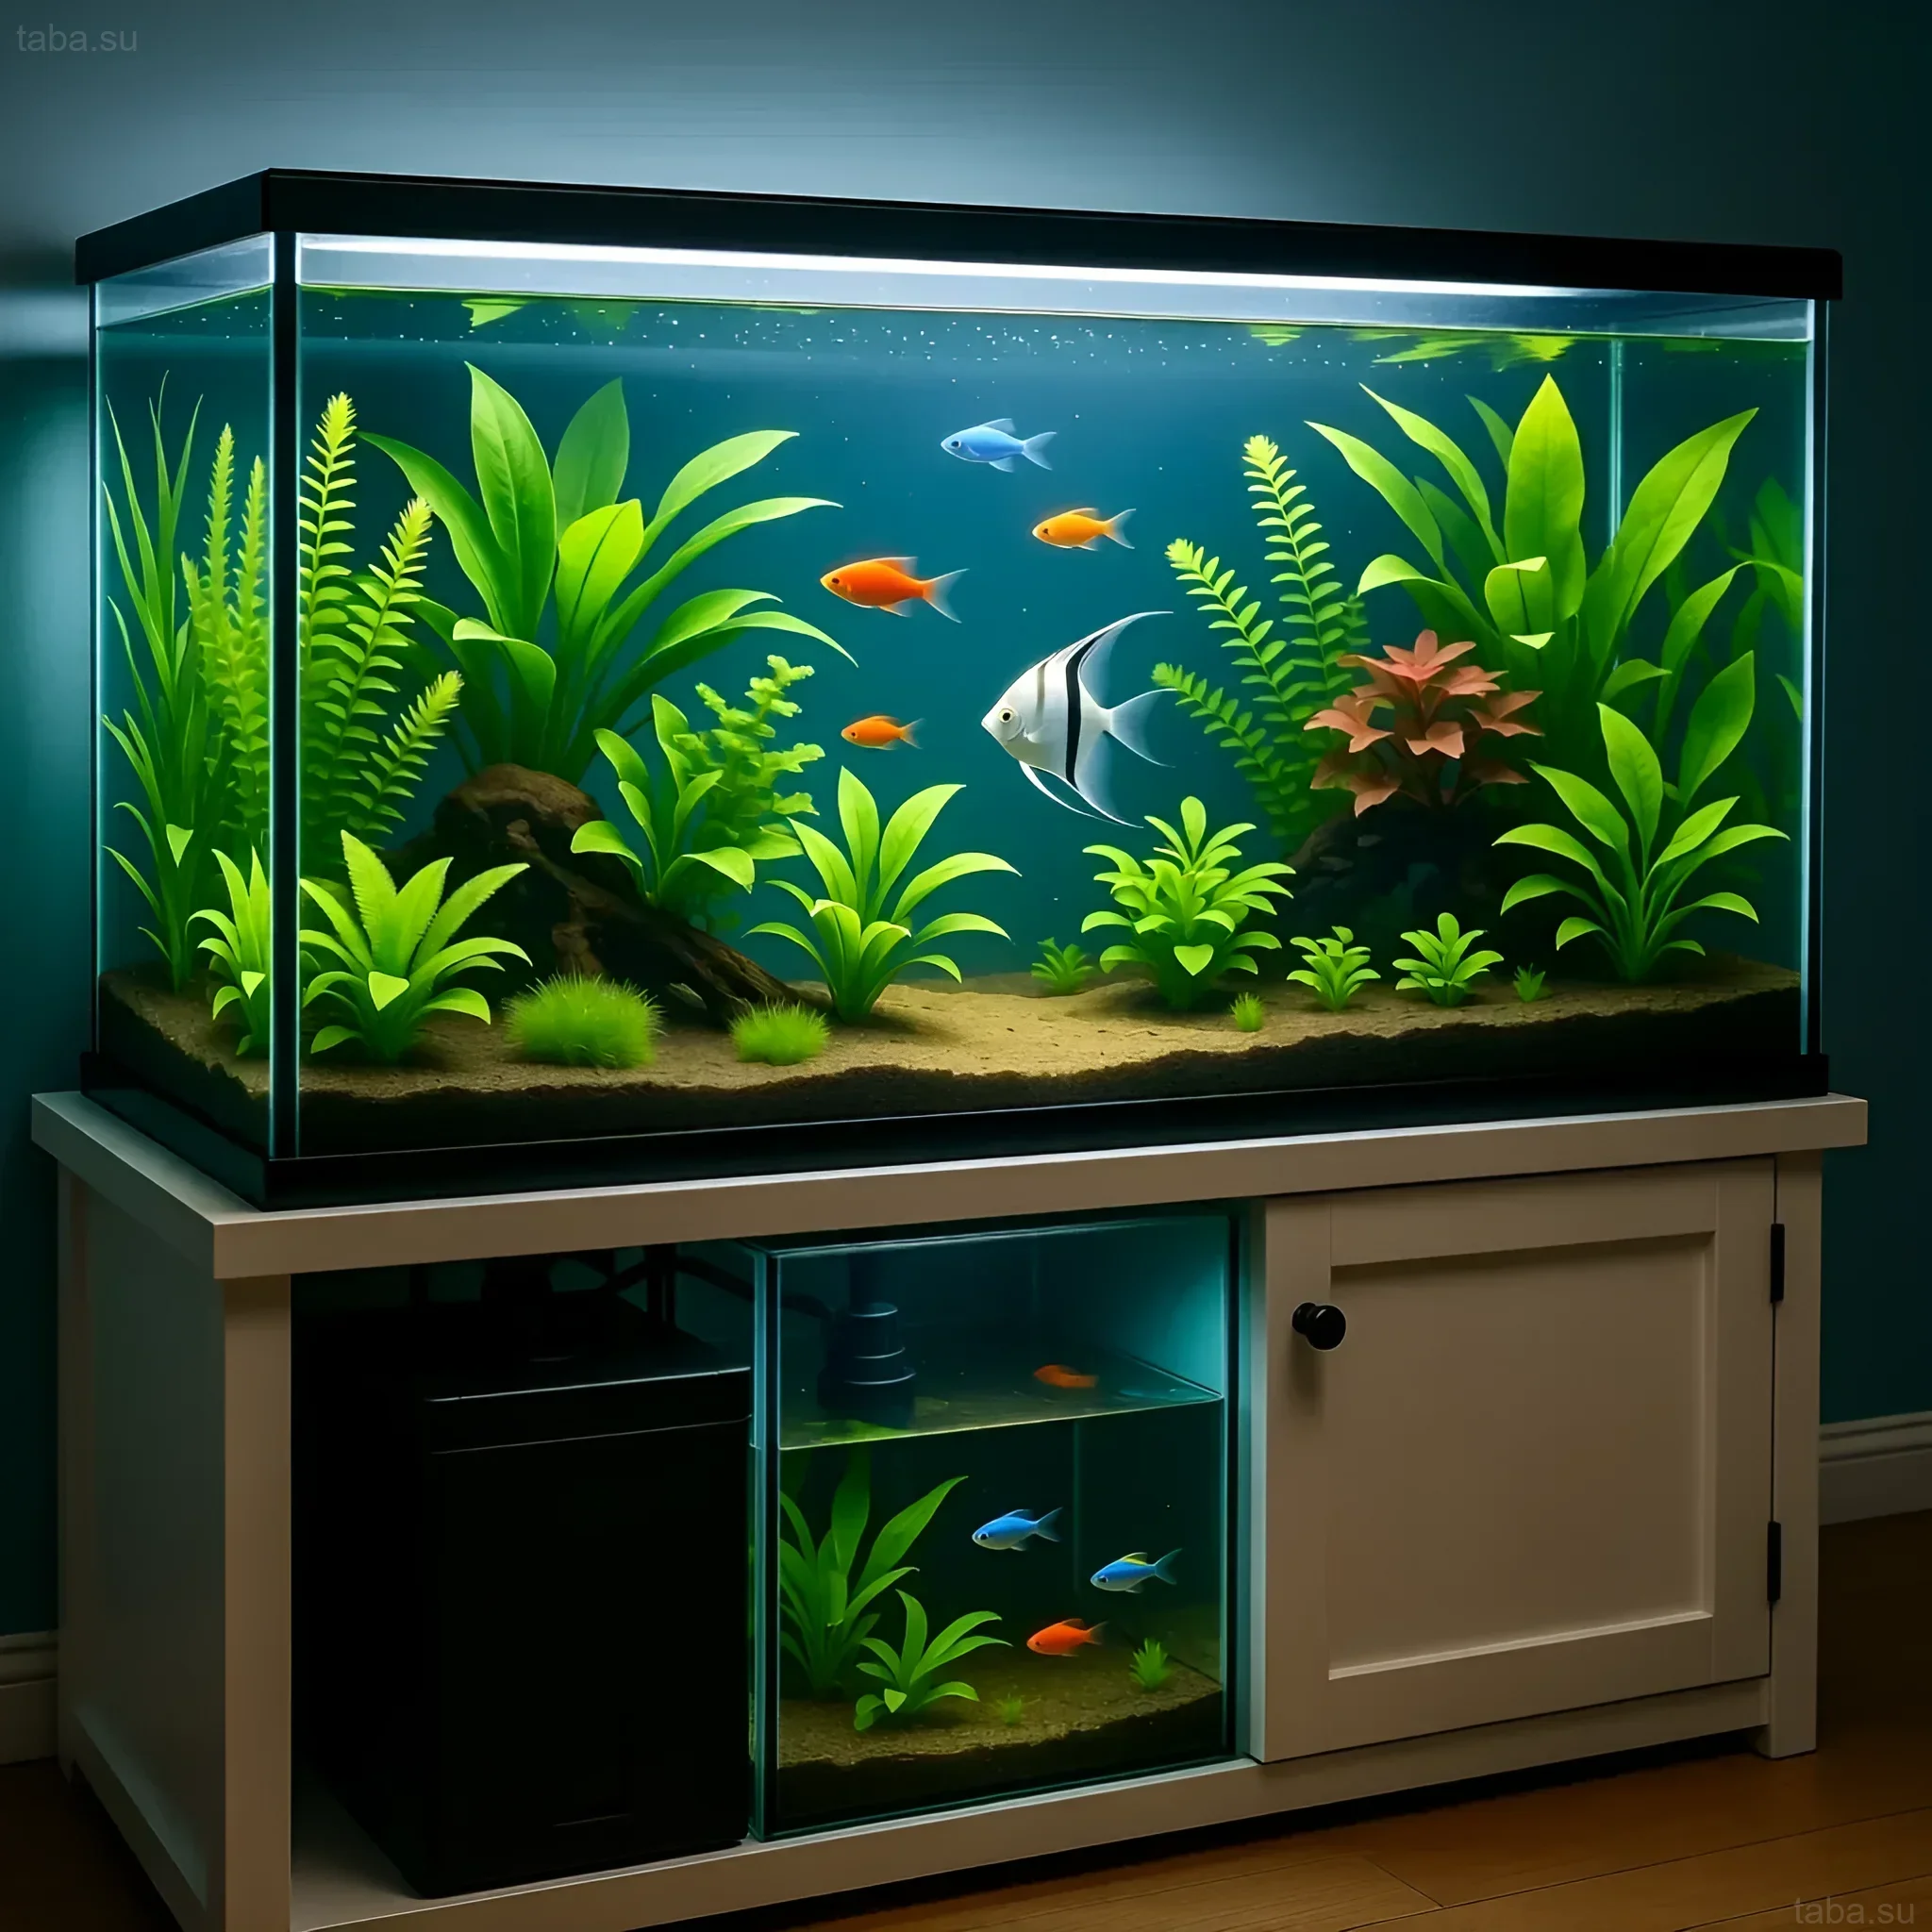
A sump (from the English word “Sump” – reservoir, tray) is an integral part of professional aquaristics, acting as an external technical compartment or reservoir. Its main purpose is to increase the total volume of the system, which is critical for stabilizing water parameters, as well as to house all the necessary equipment that is desirable to hide from the observer’s eyes. Initially popularized in marine aquaristics, today sumps are actively used in large freshwater systems, especially when keeping demanding fish species or in aquariums with high biological loads.
Aquarium Sump: What It Is and Why You Need It
A sump is essentially an additional aquarium or a specialized plastic container, usually located in the cabinet under the main display. Water from the main aquarium flows by gravity into the sump, passes through a multi-stage filtration system, and then returns to the display via a return pump.
Main Functions of a Sump:
- Increased Water Volume: The larger the total water volume in the system, the more stable the chemical parameters (pH, KH, GH) and the lower the concentration of nitrates and nitrites. This creates a buffer that protects inhabitants from sharp fluctuations.
- Equipment Hiding: Heaters, sensors, thermometers, CO2 reactors, and most importantly, powerful filtration elements (e.g., biofilters) are completely removed from the main aquarium, significantly improving aesthetics.
- Improved Filtration: A sump allows for the use of a much larger volume of filter media (mechanical, chemical, and biological) than any canister or internal filter.
- Refugium: The ability to create a separate section for growing aquatic plants (e.g., Cryptocoryne or Anubias) or small invertebrates that help in the natural processing of organic matter.
Sump Design: Components and Their Functions
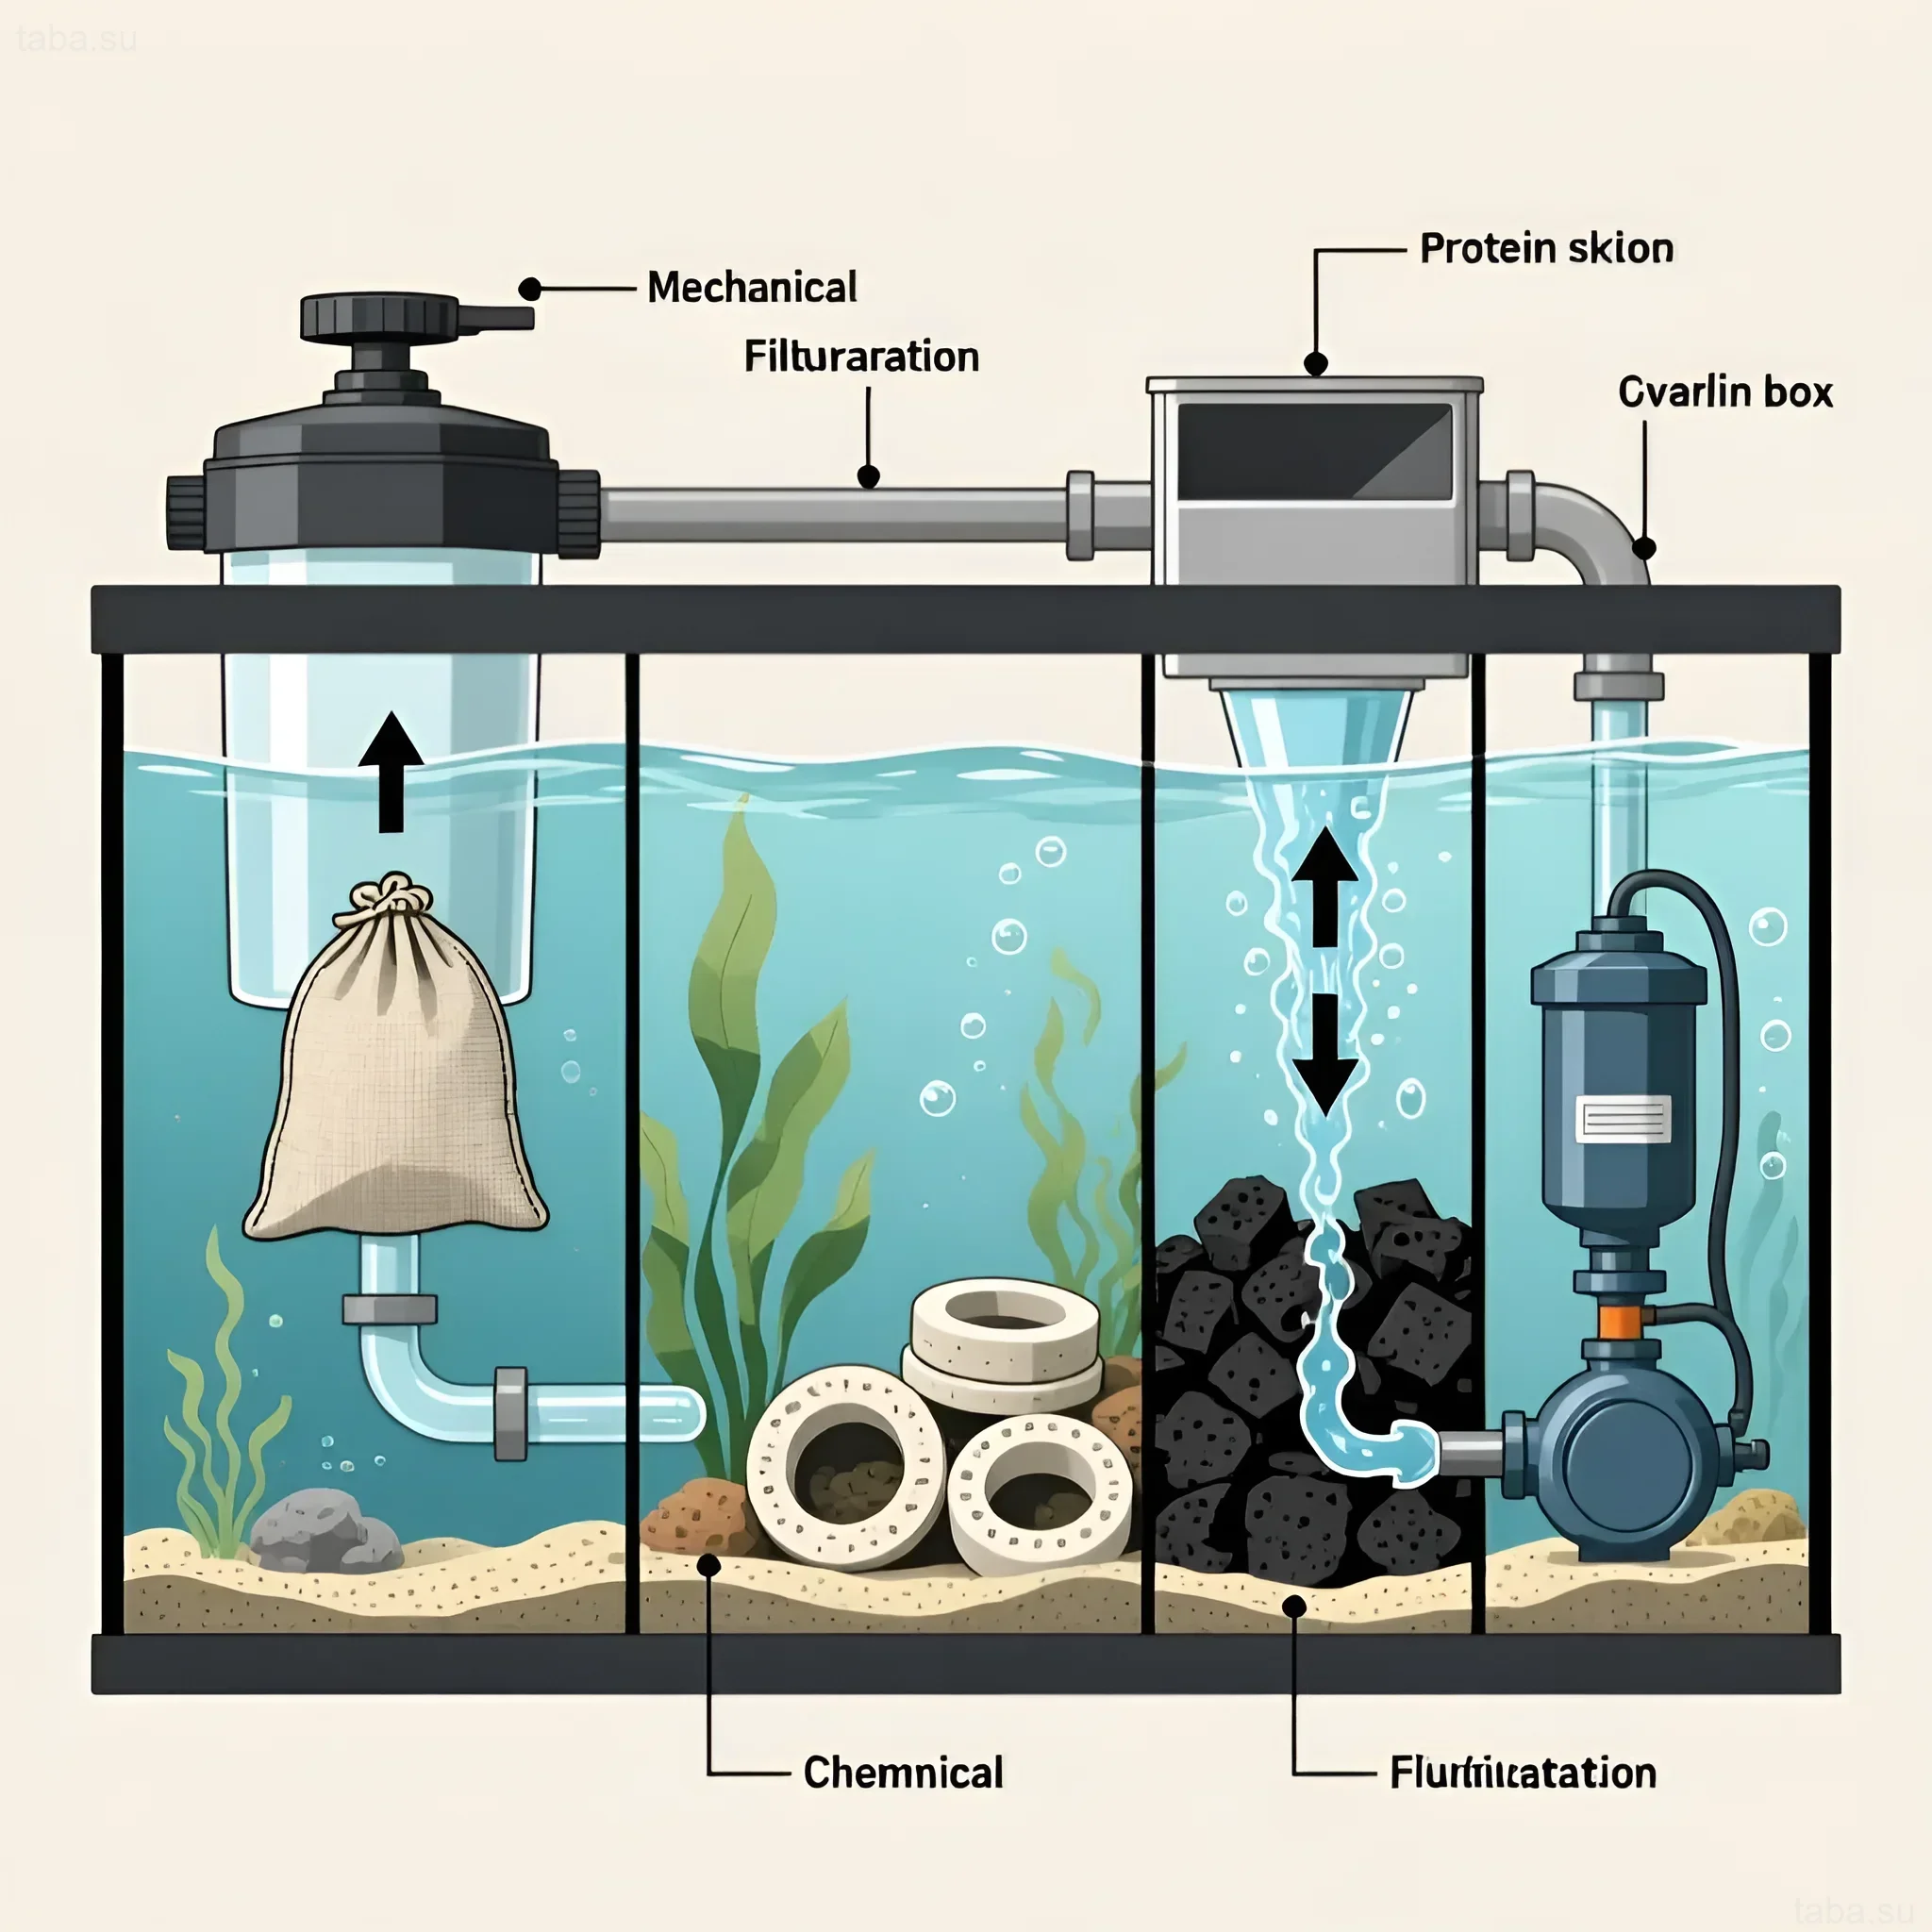
The design of a sump is always sectioned. A typical freshwater sump is divided into three or four main compartments, separated by glass baffles that regulate water flow and liquid levels in each section.
1. Drain Section (Inlet)
This is the first compartment where water enters from the main aquarium through an overflow system. The main task of this section is mechanical filtration.
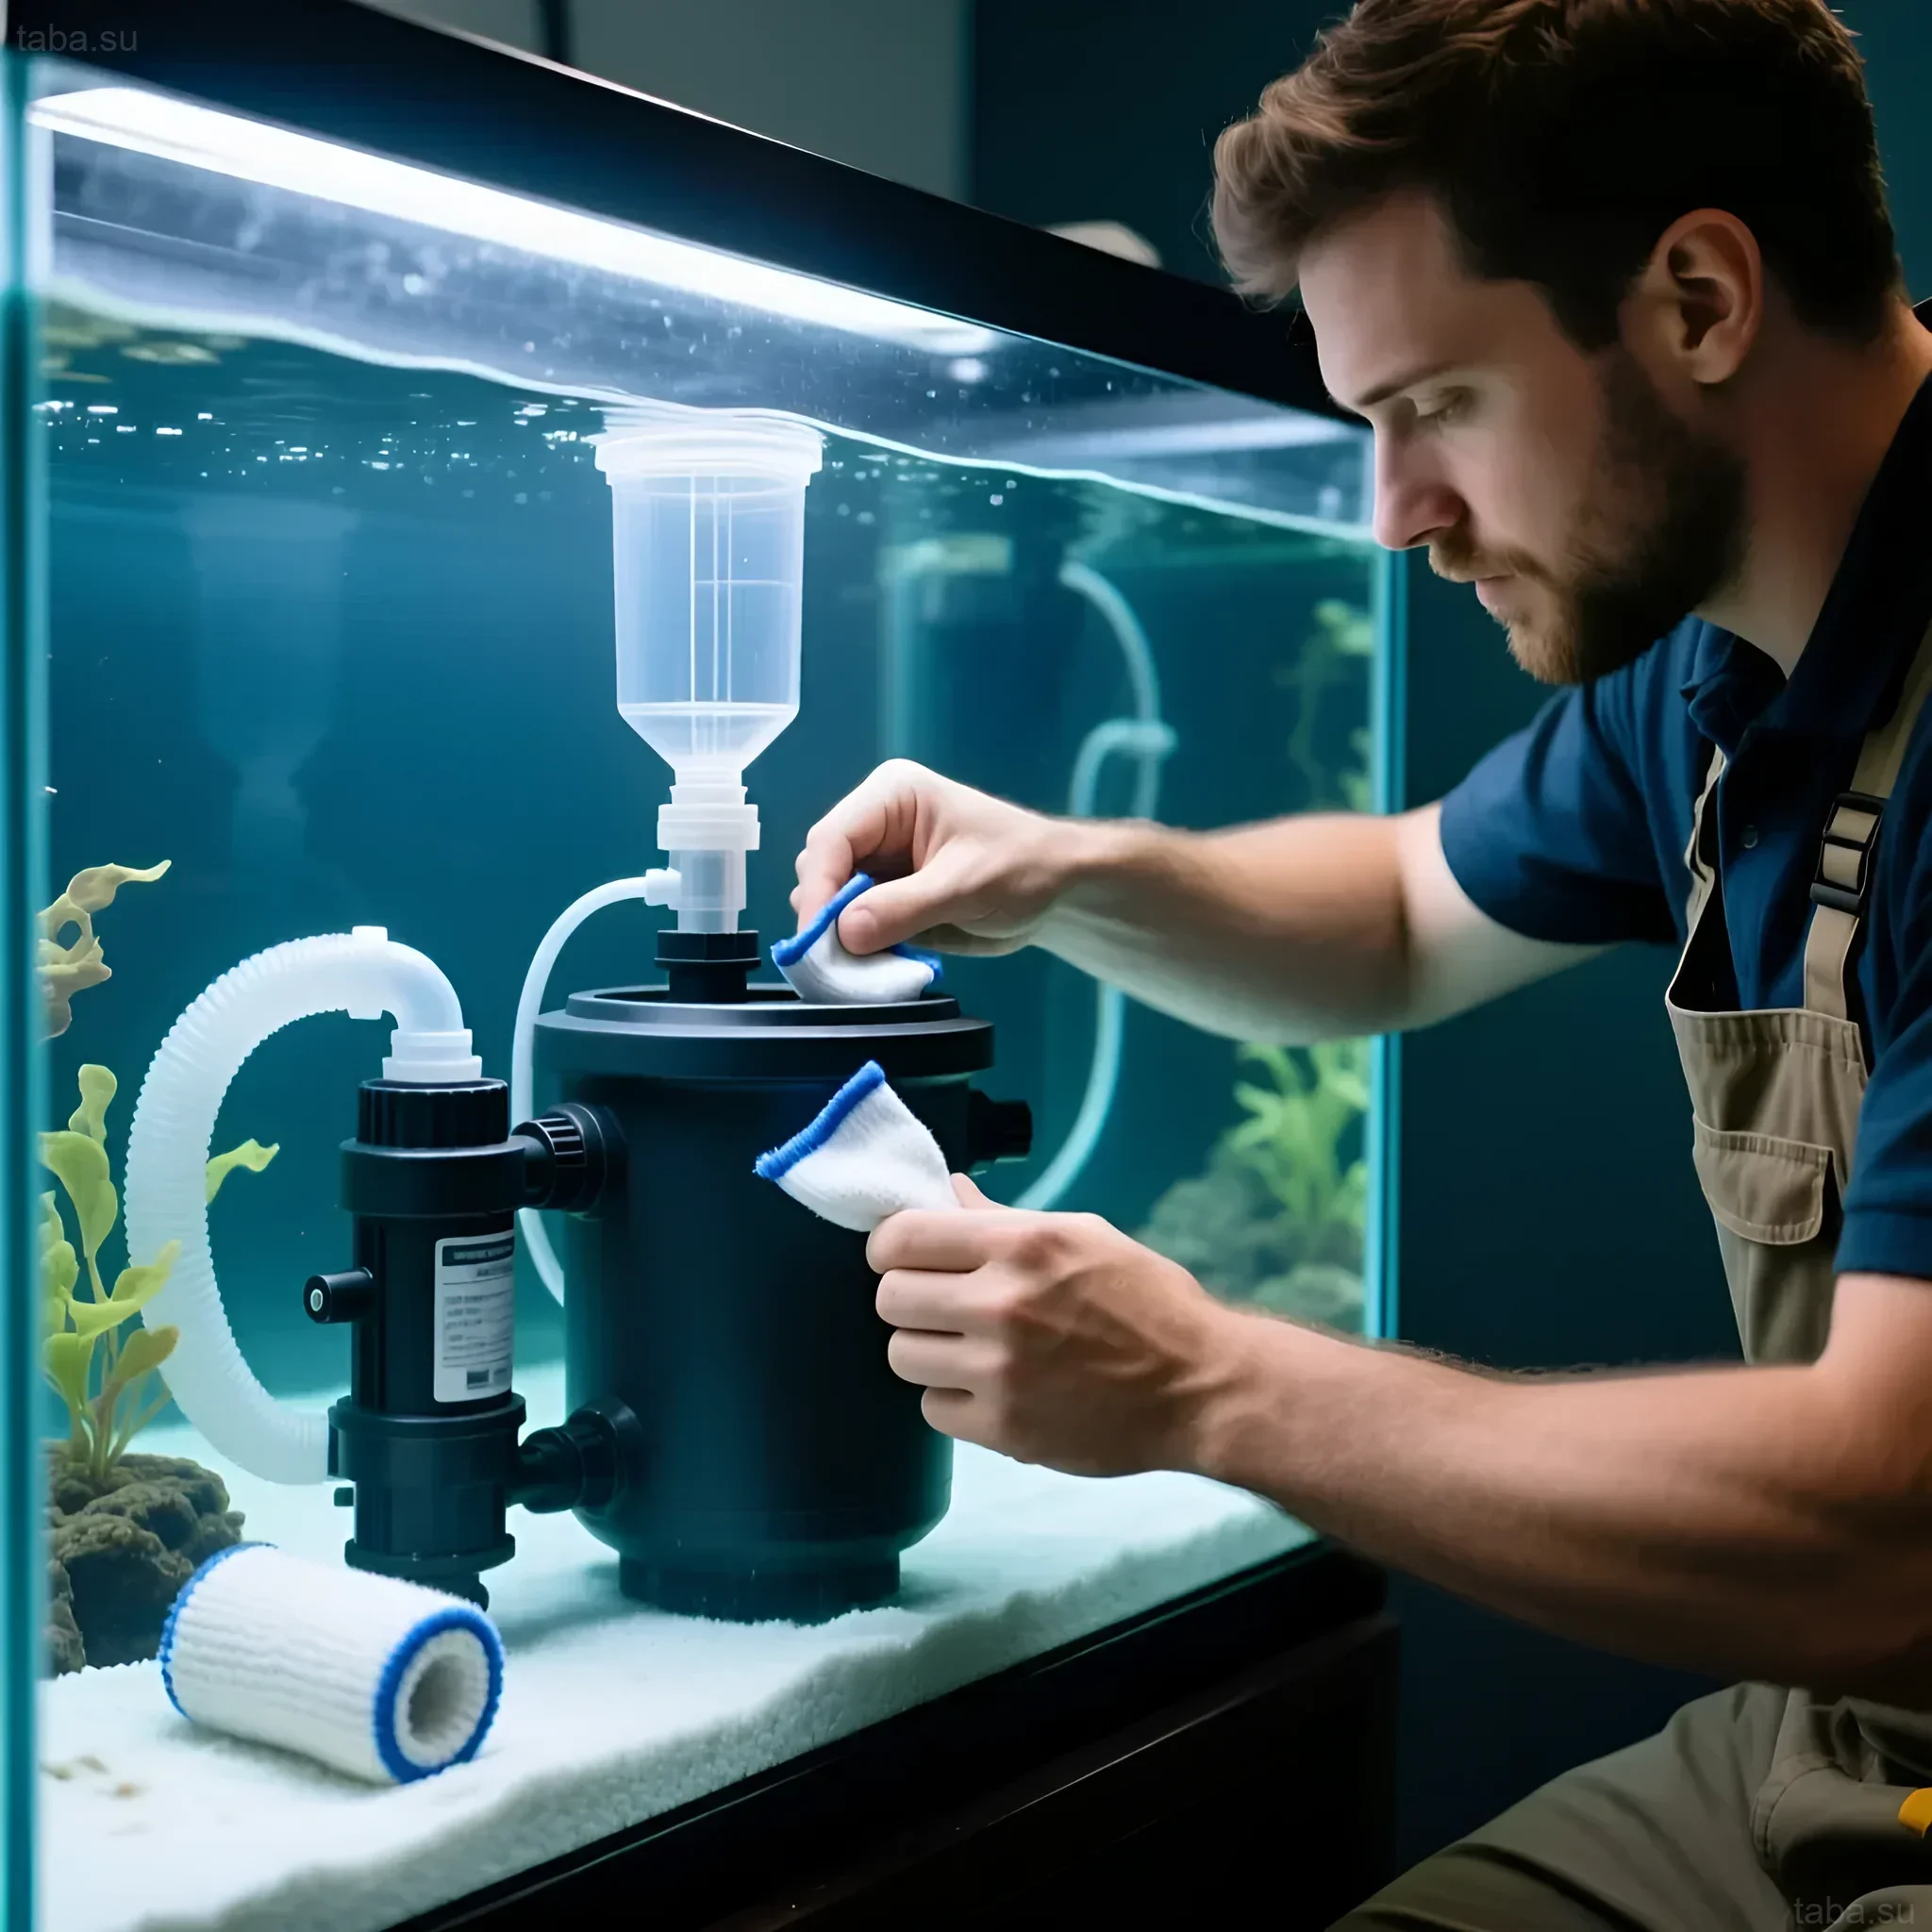
- Filter Socks (Micron Socks): Bags made of synthetic fiber that trap large particles of debris, food remnants, and detritus. They require daily or weekly cleaning.
- Primary Sponges: Coarse-pored sponges that provide rough mechanical filtration before the water moves to the next compartment.
2. Filtration Section (Middle Compartment)
The largest compartment, designed to house the main filter media. Water passes through it from bottom to top or top to bottom, depending on the baffle design.
- Biological Filtration: Ceramic rings, bio-balls, porous stones (e.g., lava), substrates with a high surface area for nitrifying bacteria colonization (Nitrosomonas and Nitrobacter).
- Chemical Filtration: Activated carbon (to remove organic pollutants and yellowing), specialized resins (to remove phosphates or silicates), peat, or filter media for water softening.
3. Pump Section (Return)
The last compartment where the purified water enters. The water level in this compartment must always be constant, as it is from here that the return pump draws water to send it back to the main aquarium.
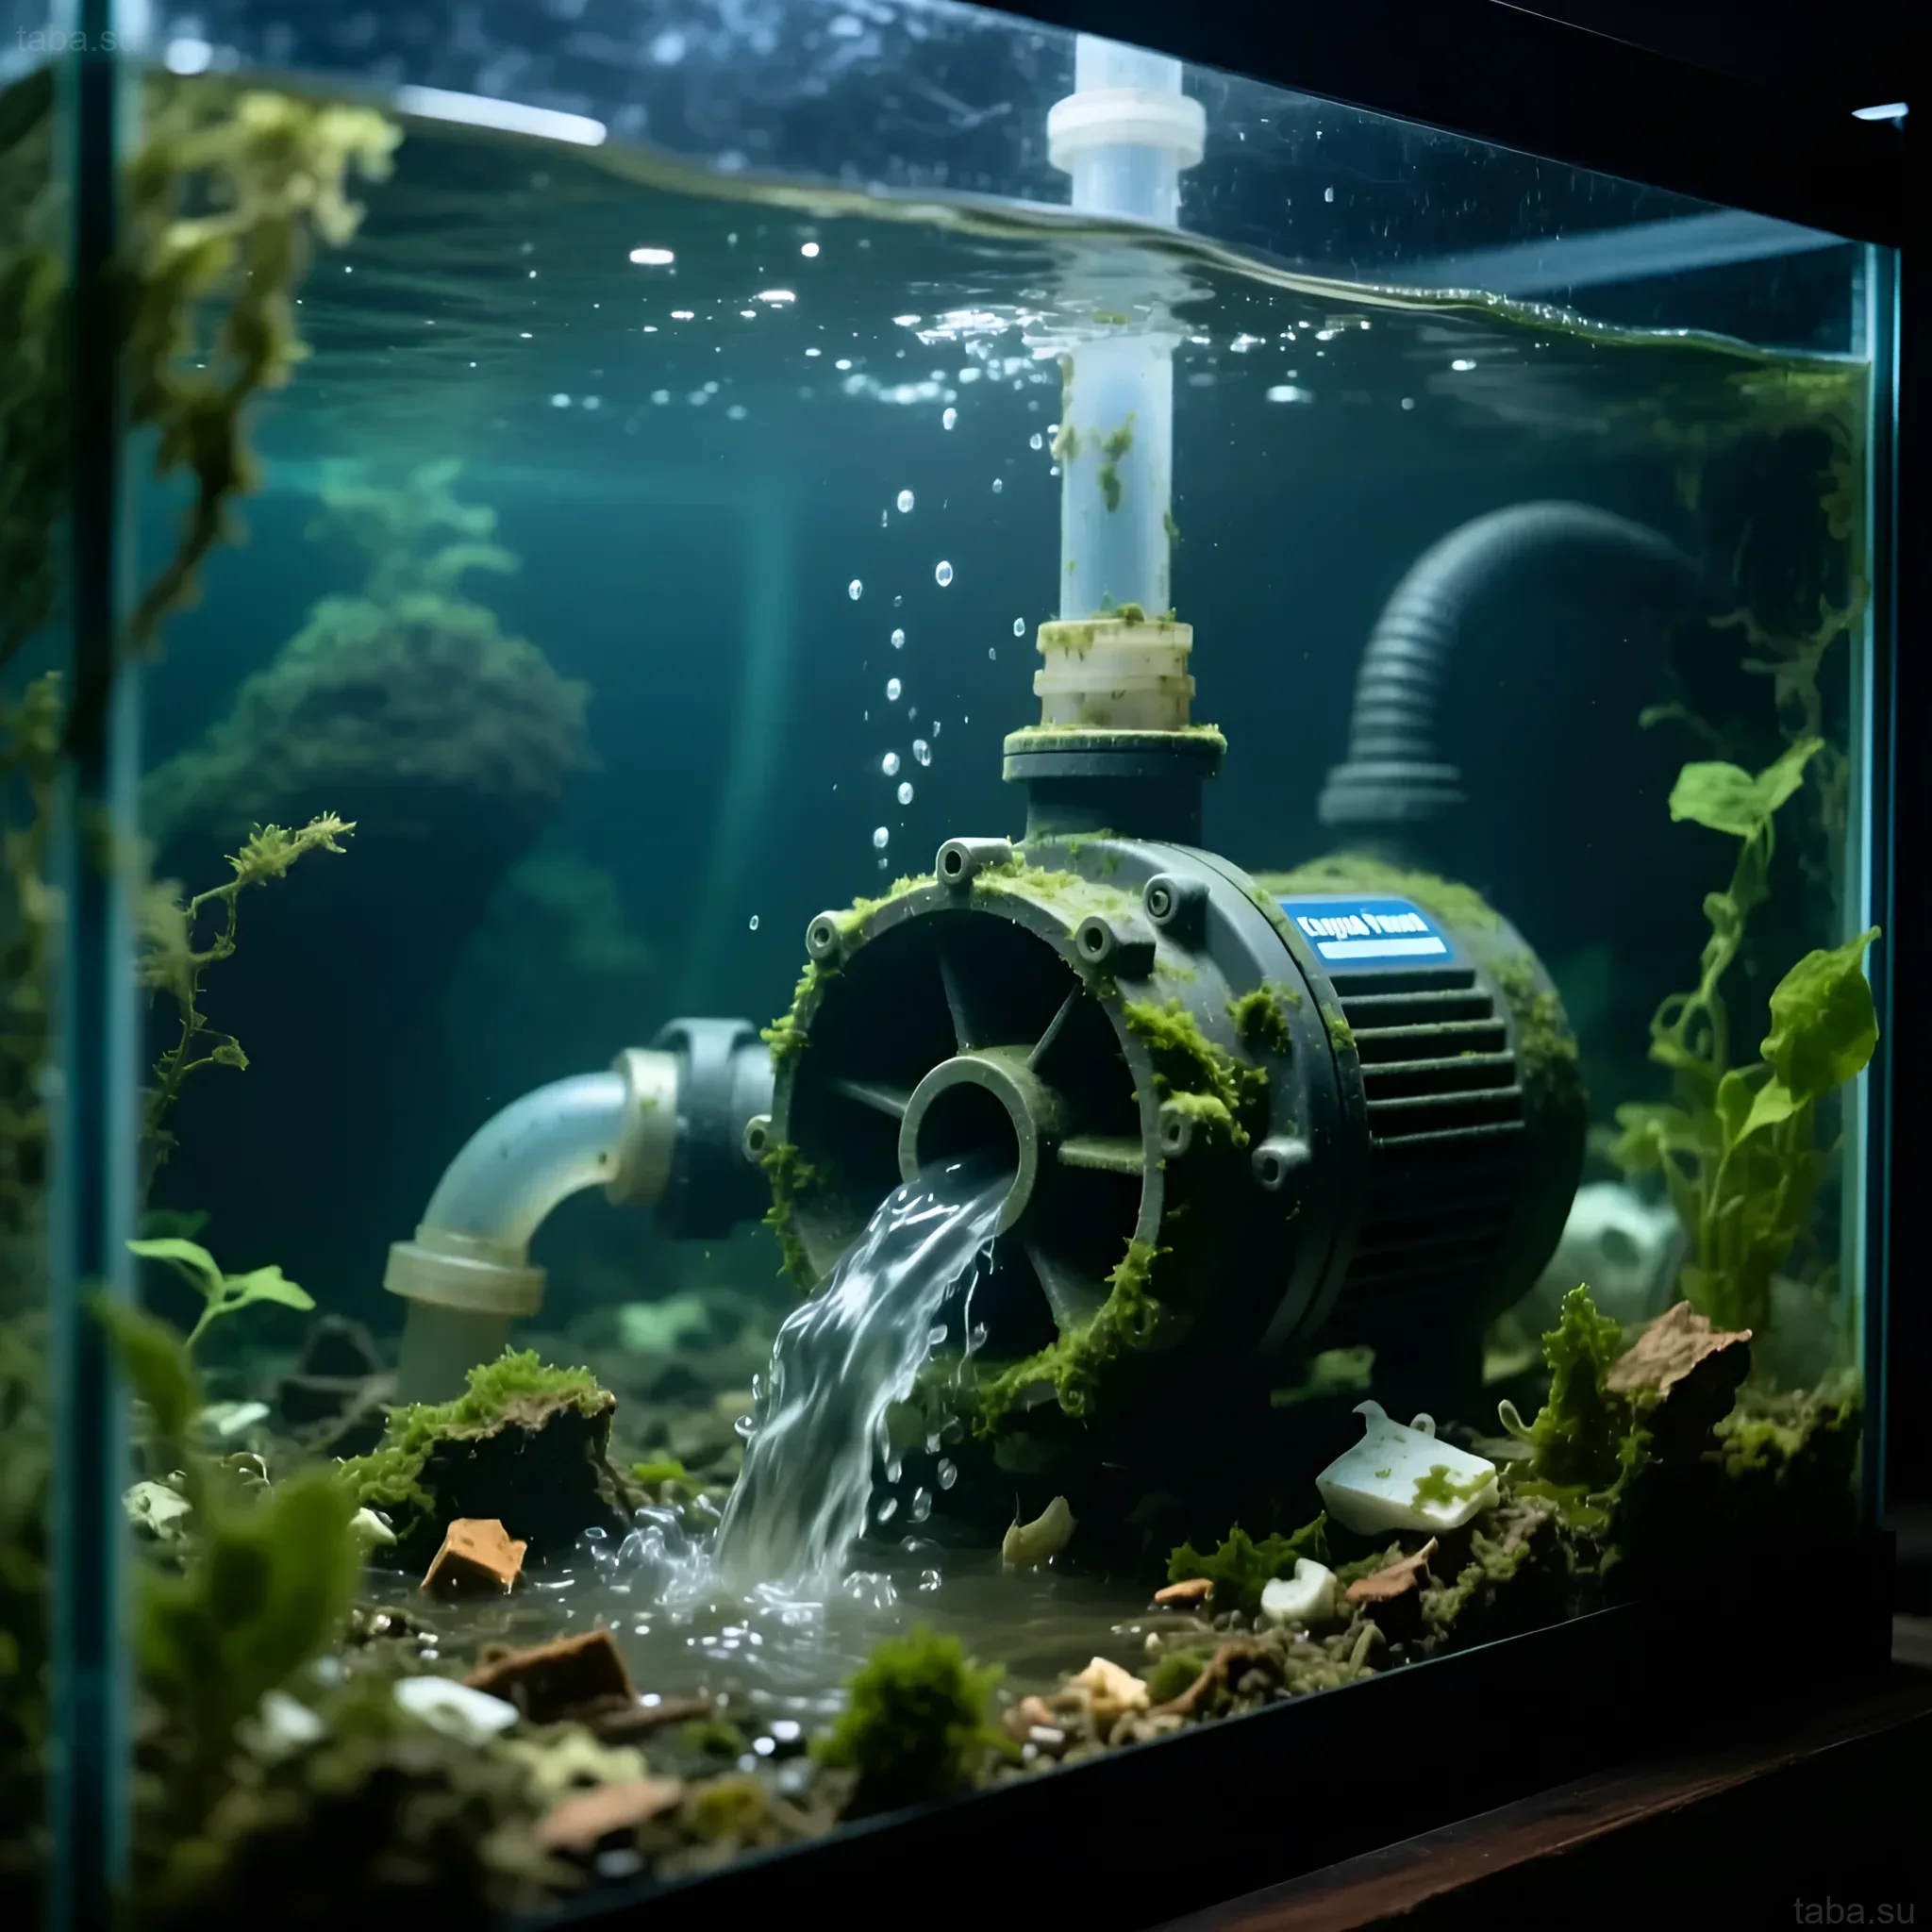
- Return Pump: The main engine of the system. Its power (flow rate) should be selected considering the head height and the required turnover rate (usually 3-5 aquarium volumes per hour).
- Auto Top-Off (ATO): A system that automatically adds evaporated water (freshwater) to this compartment, which is critical for protecting the pump from running dry and maintaining stable salinity/hardness.
Choosing a Sump: What Volume and Type is Right for Your Aquarium?
The correct choice of a sump depends on the size of the main aquarium, its biological load, and the available space in the cabinet.
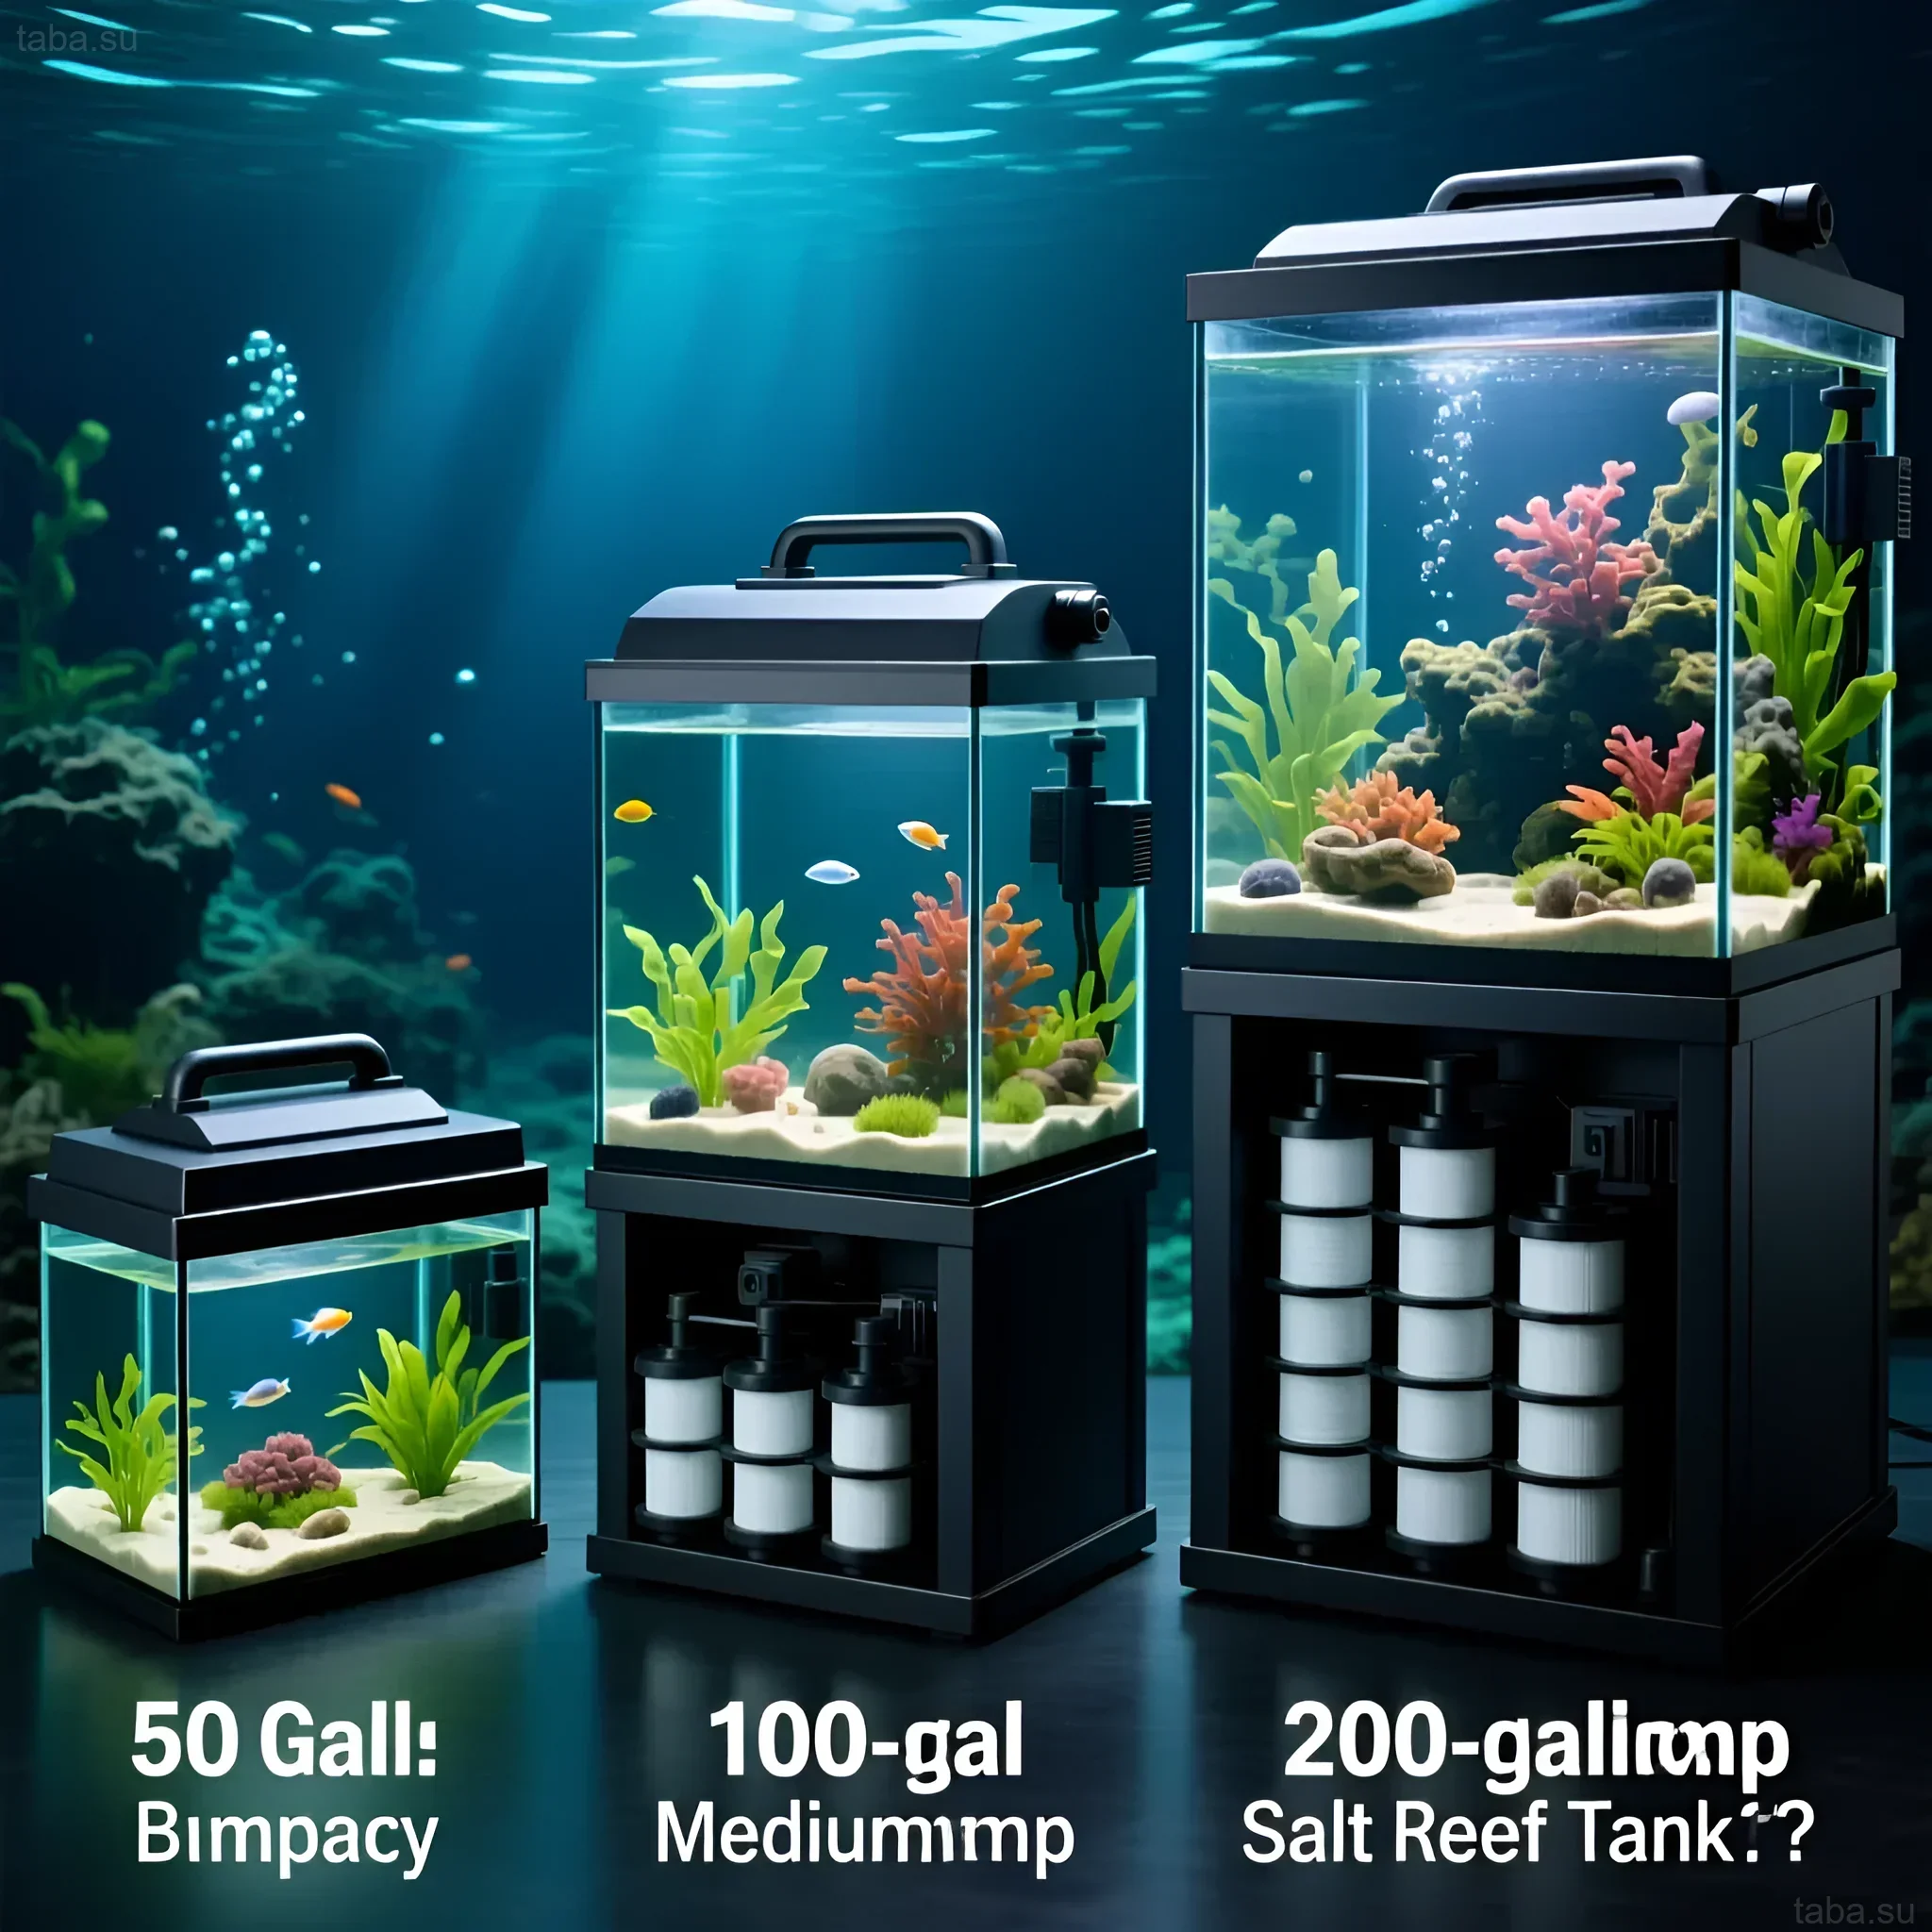
Calculating Sump Volume
Experts recommend that the sump volume should be 15% to 30% of the main aquarium’s volume. For example, for a 400-liter aquarium, an optimal sump would have a volume of 60–120 liters.
Critical Parameter: Power Outage Reserve.
When choosing the sump size, you need to consider how much water will drain back into the sump from the main aquarium and the overflow box in case of a sudden power outage. This back-siphon volume should not exceed the free volume (air space) of the sump, otherwise, the floor will flood.
- Tip: Set the water level in the operating sump so that the free space above is at least 20% larger than the calculated volume of water that can drain from the upper aquarium.
Types of Freshwater Sumps
Although standard three-compartment designs are often used in freshwater, there are variations:
- Standard (3-Compartment): Mechanical – Biological/Chemical – Pump. The most common and easiest to maintain.
- Sump with Refugium: The middle section is dedicated to a dimly lit compartment where algae or fast-growing plants are cultivated. This helps compete with unwanted algae in the main aquarium and consume nitrates.
- Wet/Dry Filter: Historically used for very high biological loads. Water flows over the substrate, which is not fully submerged, maximizing gas exchange. It is less popular now due to the risk of nitrate accumulation.
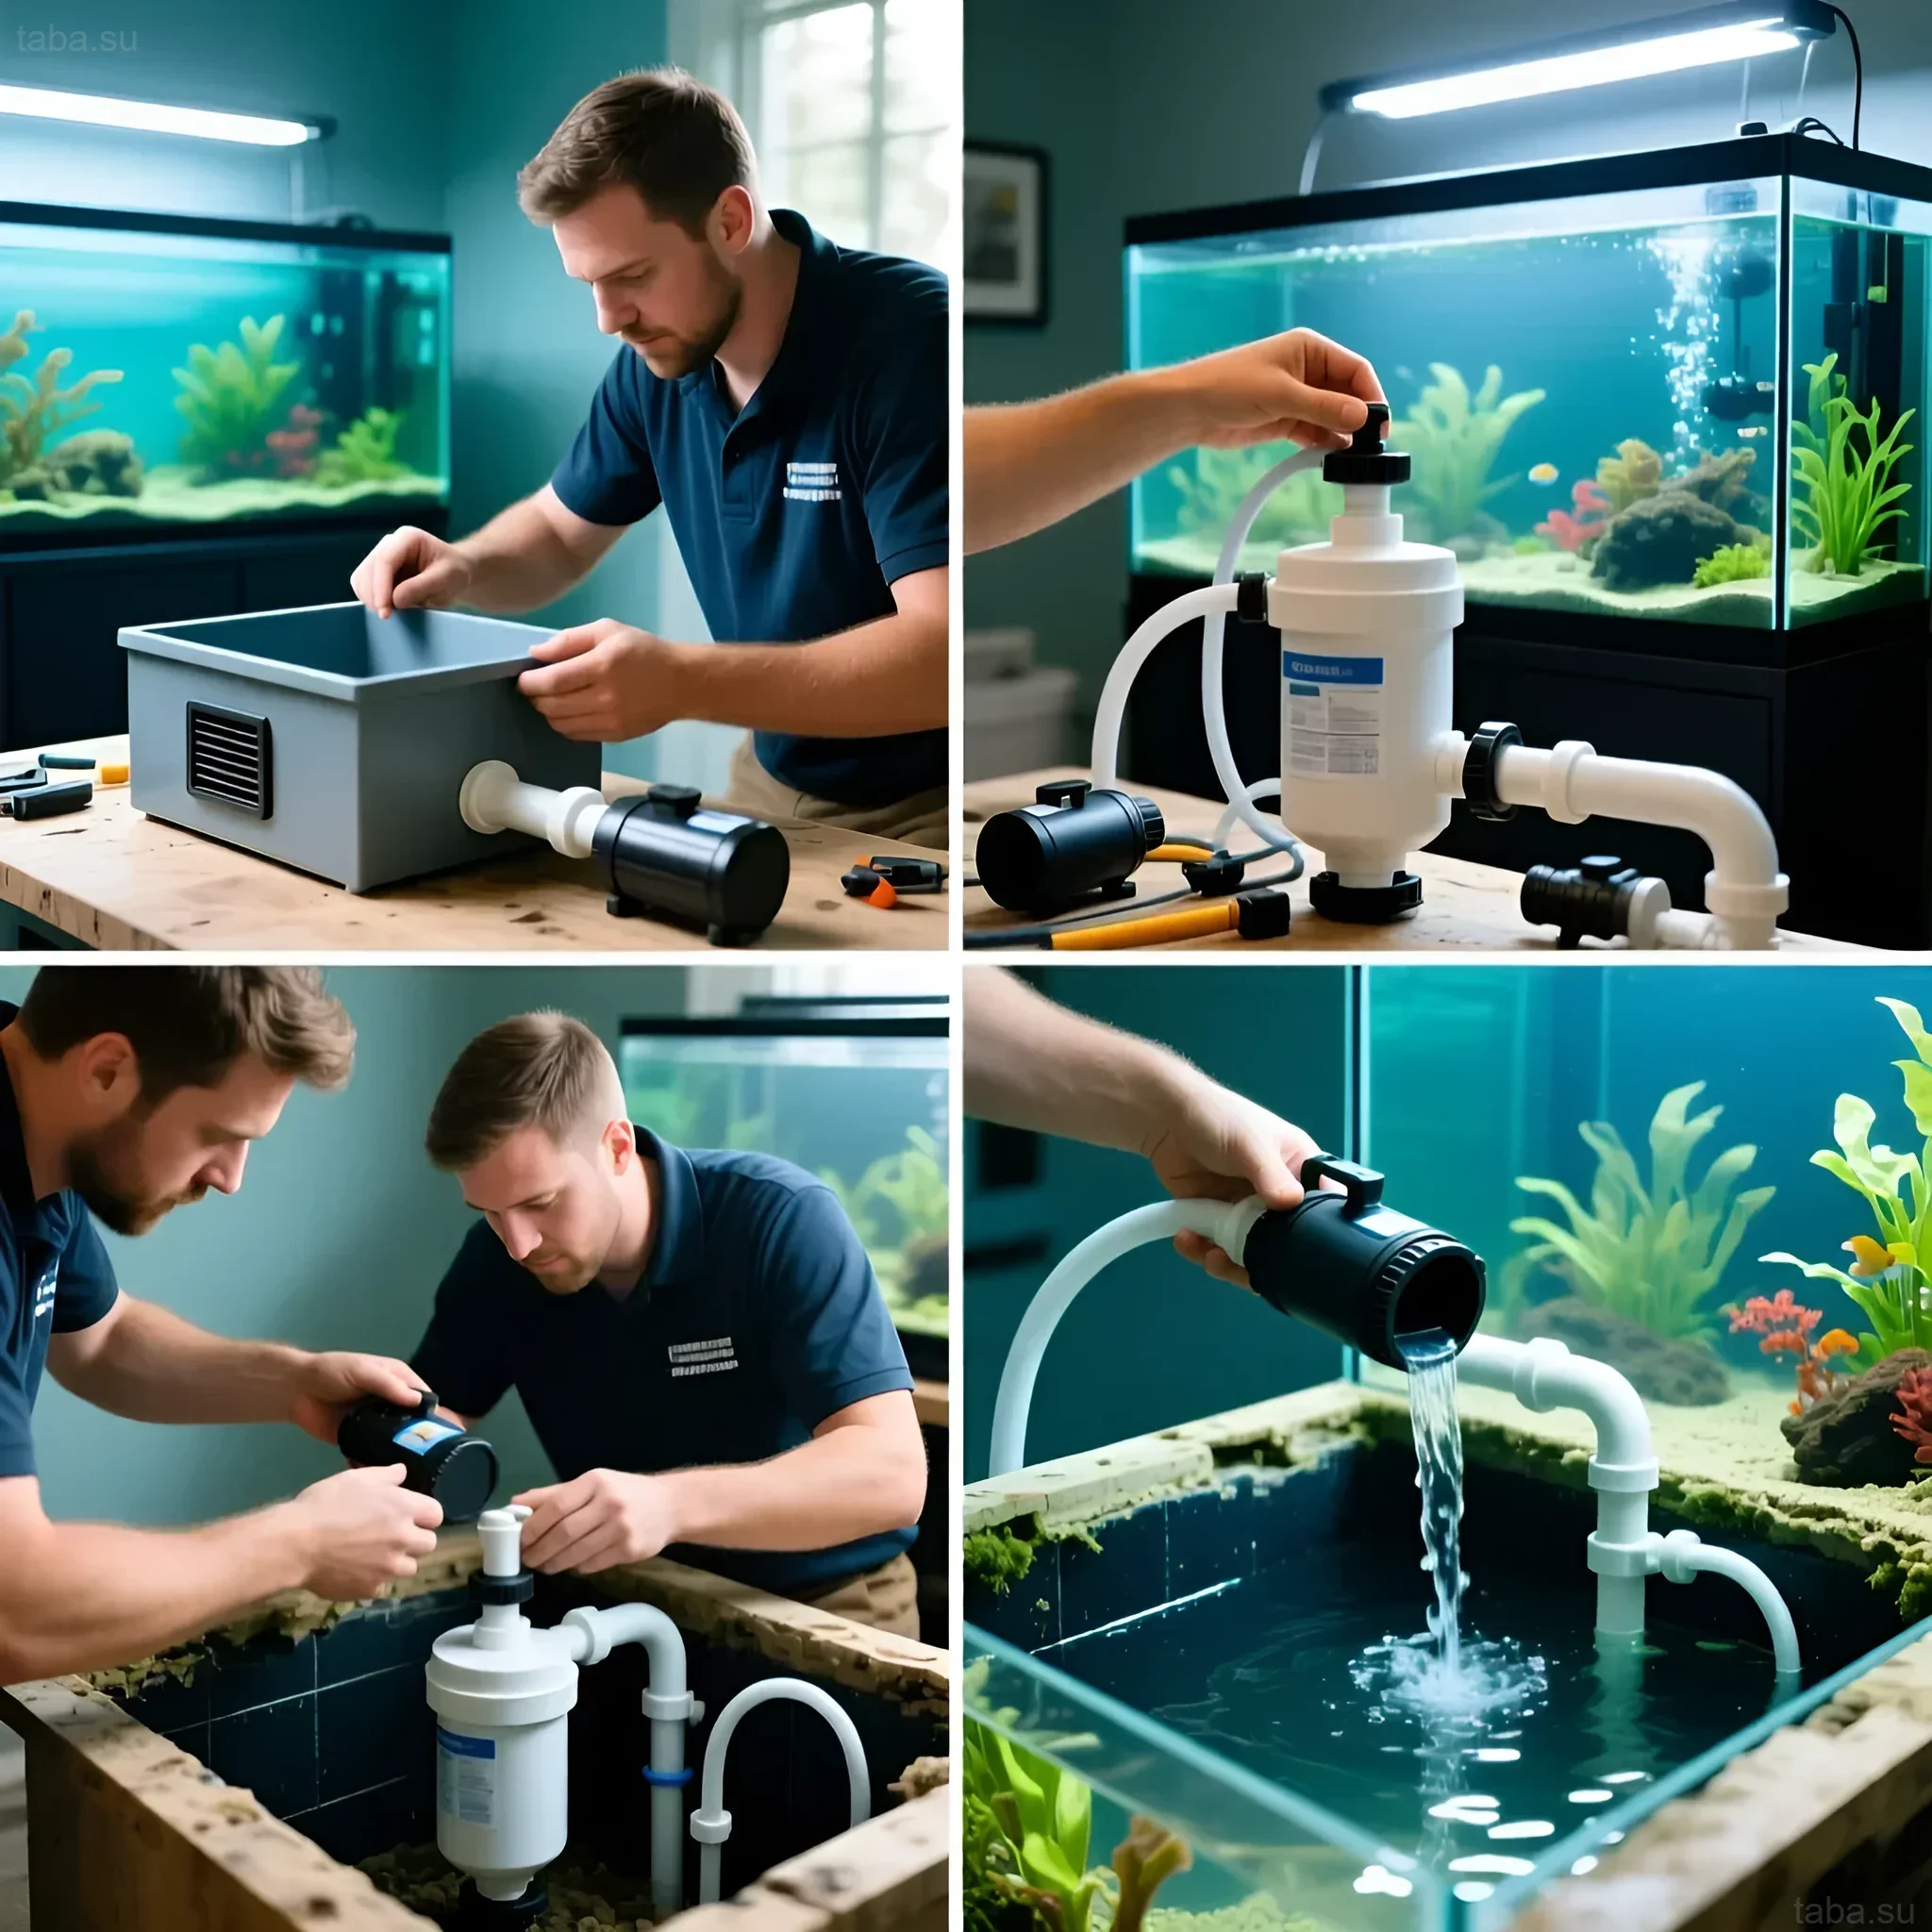
Sump Installation and Connection: Step-by-Step Guide
Sump installation requires precision, especially regarding glass drilling and sealing. Aquariums designed for a sump must have an overflow box.
1. Overflow Installation
An overflow is a system that draws water from the aquarium surface (removing the bacterial film) and directs it into a drain pipe leading to the sump.
- External Overflow: Used for aquariums that were not drilled. Less reliable as it can lose siphon in case of failure.
- Internal Overflow (Box): The most reliable option. Requires drilling holes in the bottom or back wall of the aquarium.
2. Drain Systems
Specialized drain systems are used to minimize noise and ensure safety:
- Durso Standpipe: A pipe with a cap and a small air hole that regulates the flow.
- Herbie Overflow System: Uses two pipes – a main one operating under a full siphon (quiet) and an emergency one located above.
- BeanAnimal Overflow System: The quietest and most reliable. Uses three pipes: main (full siphon), reserve (partial siphon), and emergency.
3. Pump and Pipe Connection
The pump is installed in the last compartment of the sump. The return pipe (return line) rises vertically and is attached to the outlet fitting in the main aquarium. Be sure to use a check valve or drill a small “anti-siphon” hole just below the waterline on the return pipe to prevent excessive back-siphoning of water in case of a power outage.
Sump Maintenance and Care: Keeping it Clean and Efficient
The sump, being the heart of the system, requires regular attention. Proper maintenance ensures maximum filtration efficiency and prevents biological disasters.
Weekly Tasks:
- Cleaning Filter Socks: If socks are used, they must be removed, rinsed, or replaced every 2–7 days, otherwise, they will quickly become a source of nitrates.
- Checking Water Level: The level in the pump section should be stable. Activating the auto top-off system greatly simplifies this task.
- Removing Large Debris: Sediment in the first sump section should be regularly removed with a siphon.
Monthly/Quarterly Tasks:
- Rinsing Biofilters: Biological media (ceramic rings, bio-balls) should be rinsed in drained aquarium water (never in chlorinated tap water!) to remove excess sludge without killing the bacteria.
- Replacing Chemical Media: Activated carbon and absorbent resins lose their effectiveness after 3–6 weeks and should be replaced.
- Cleaning the Pump: Accumulation of scale and slime on the pump impeller drastically reduces its performance. The impeller should be cleaned regularly.
Common Sump Problems and Solutions
Despite its high efficiency, a sump can be a source of several specific problems, mainly related to noise and the risk of leaks.
1. Noise from Falling Water
Problem: Loud “gurgling” of water in the drain pipe or as it falls into the sump.
Solution:
- Using drain systems that operate under a full siphon (Herbie or BeanAnimal).
- Installing an adjustable valve on the drain pipe to fine-tune the flow.
- Using damping sponges or mats in the first sump section to soften the impact of the water.
2. Risk of Flooding During Power Outage
Problem: When the pump turns off, water continues to drain from the aquarium until the level drops below the overflow edge.
Solution:
- Correct calculation of the sump’s free volume, as described above.
- Ensuring an anti-siphon hole on the return pipe: it should be drilled 1–2 cm below the waterline. As soon as the water level drops to this hole, the siphon effect will stop.
3. Microbubbles in the Main Aquarium
Problem: The pump draws in air, and water saturated with microbubbles is returned to the display.
Solution:
- Ensure the pump is fully submerged and not “starving” (lacking water).
- Check if the sump baffles are installed correctly. They should be positioned to allow bubbles to rise to the surface before the water enters the pump section.
DIY Sump: Is It Worth Trying and Where to Start?
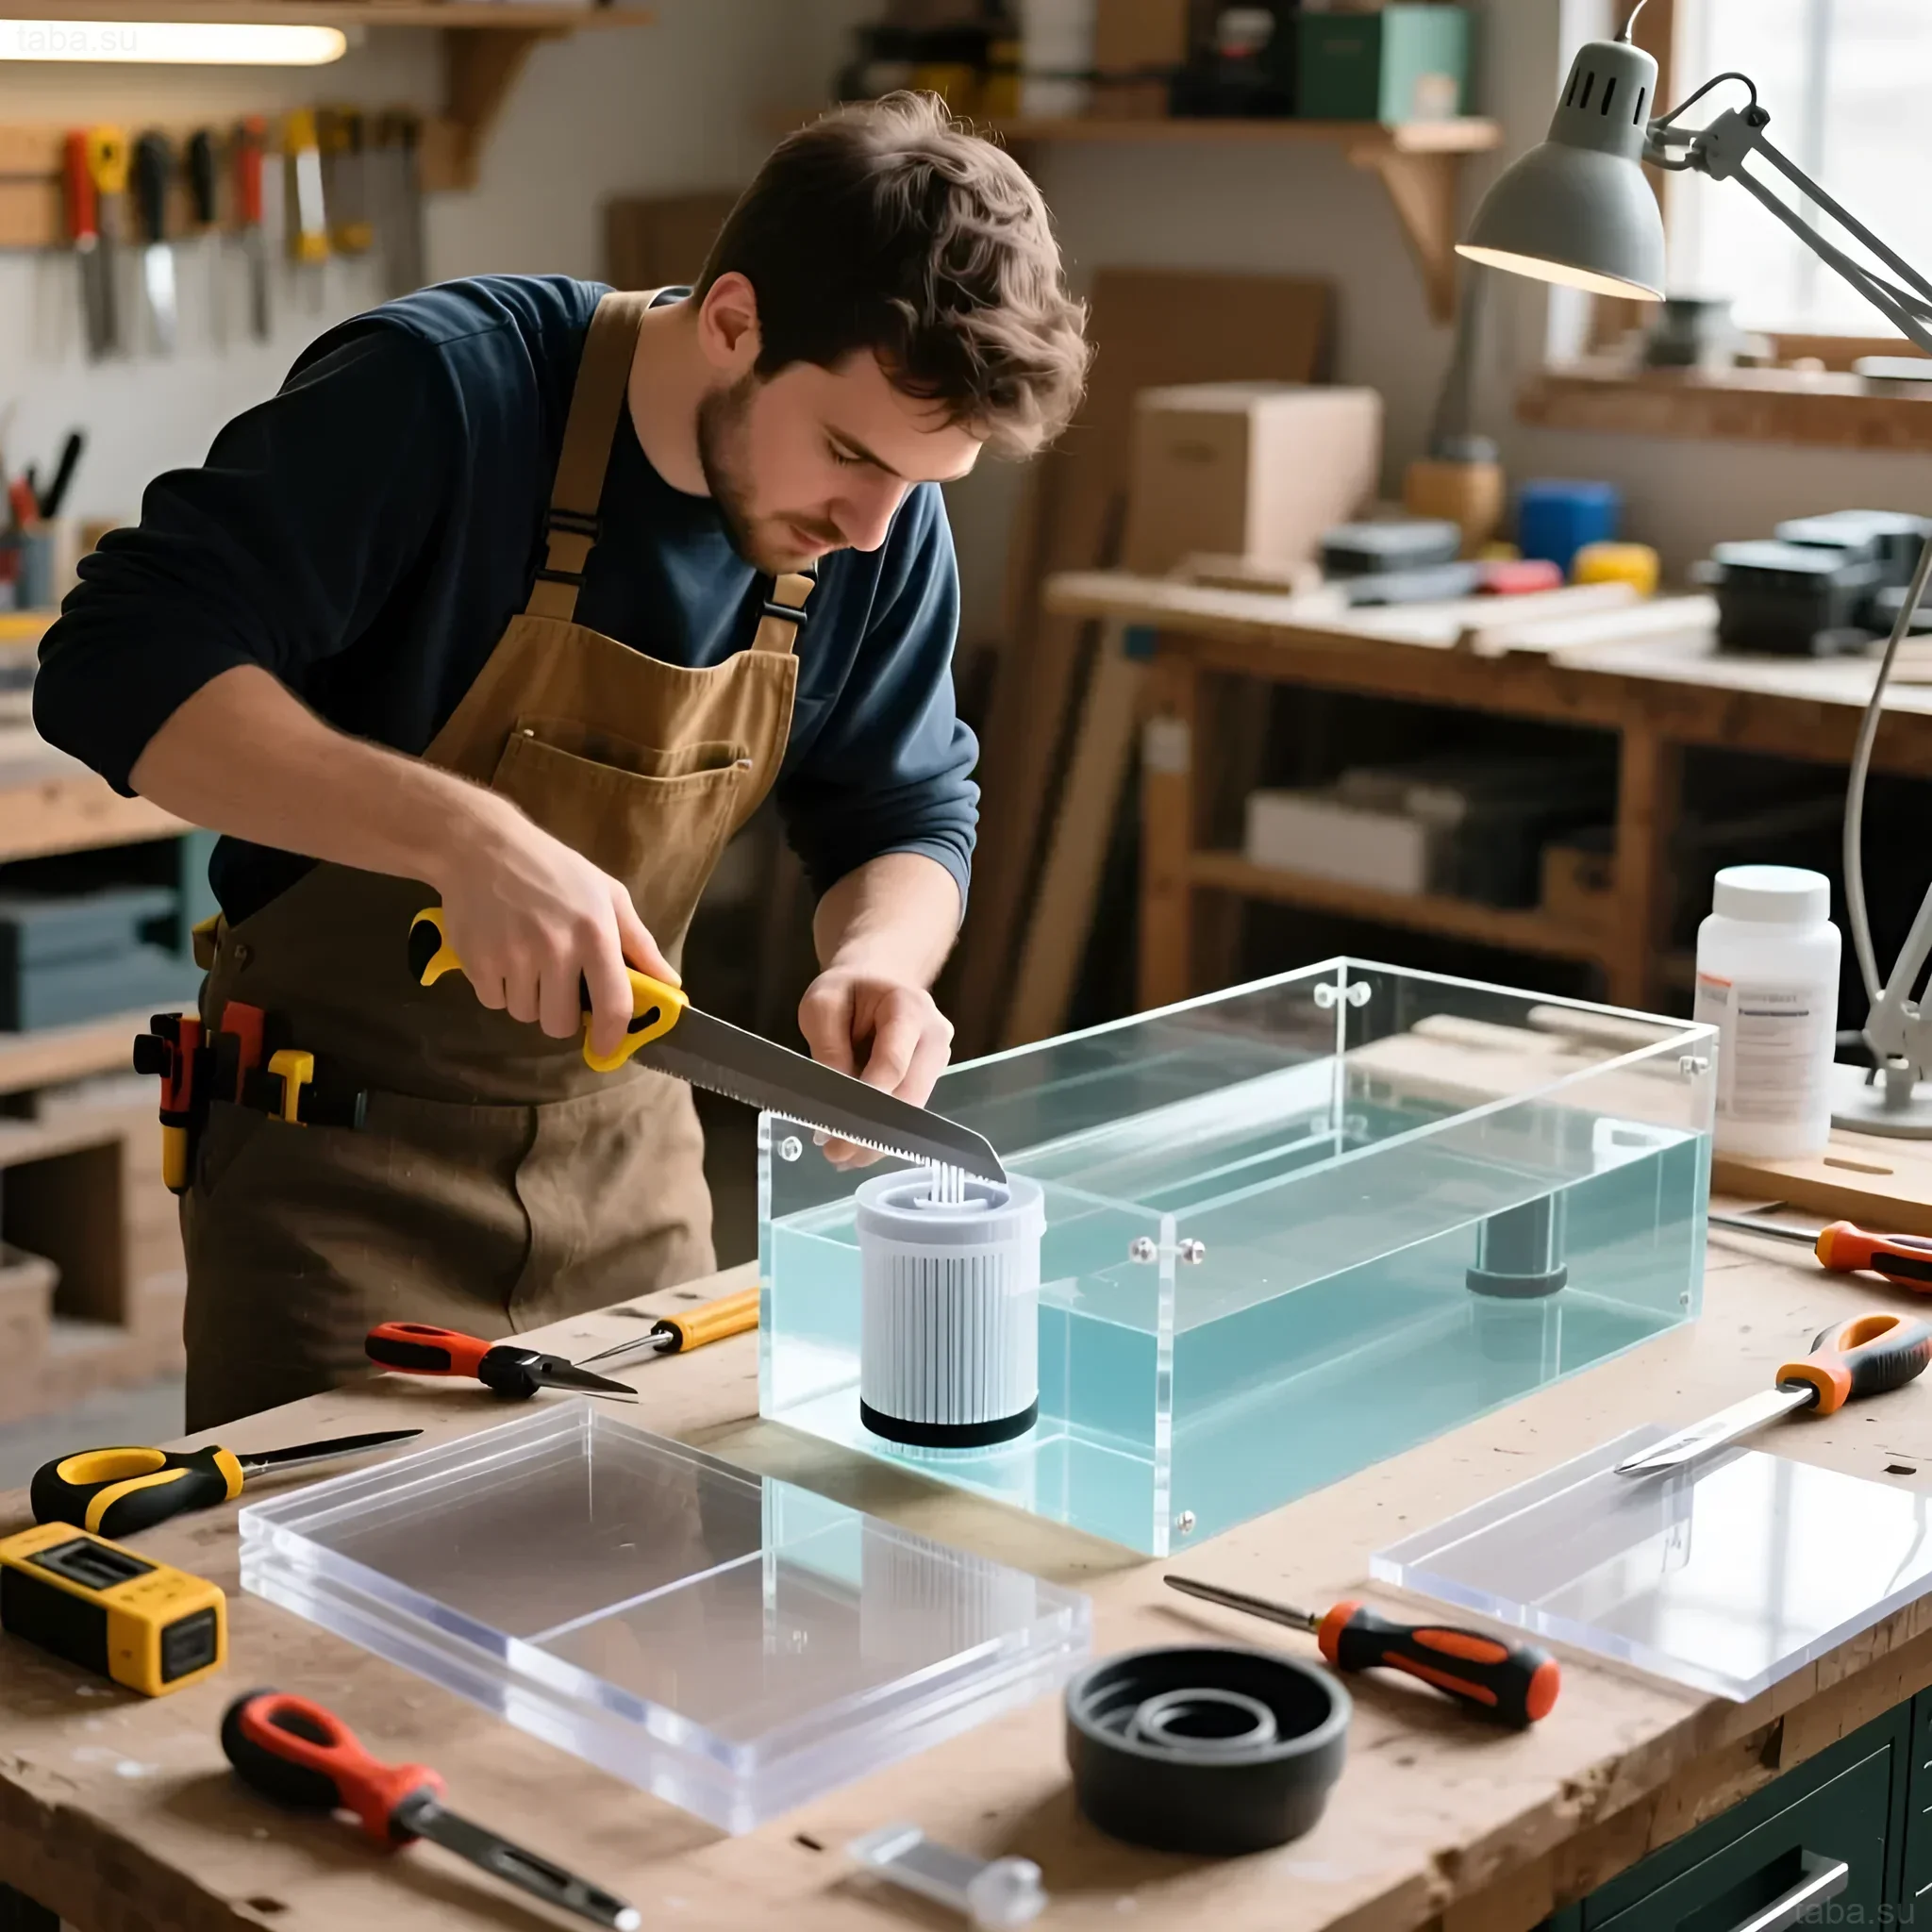
Many experienced aquarists prefer to build their own sumps. This allows for maximum adaptation to the cabinet dimensions and specific system needs (e.g., adding space for a carbon reactor or a refugium).
Advantages of a DIY Sump:
- Customization: Full control over compartment sizes and layout.
- Cost Savings: Material costs are lower than purchasing a ready-made branded sump.
Risks and Difficulties:
- Sealing: Poorly glued baffles can lead to water mixing between compartments, bypassing filter media.
- Accuracy: Errors in calculating baffle heights can disrupt water flow logic and cause overflows.
Where to Start?
1. Calculation: Determine the maximum sump dimensions that will fit in the cabinet, leaving space for pipes and maintenance. Calculate the required baffle height, considering the back-siphon volume during pump failure.
2. Materials: Use new silicate glass (6–8 mm thick) and specialized aquarium silicone sealant (without antifungal additives).
3. Assembly: Baffles should only be glued after the main body seams have fully cured. Strictly adhere to the silicone curing time (usually 24–48 hours) before filling with water.
Sump FAQ: Answers to Popular Questions
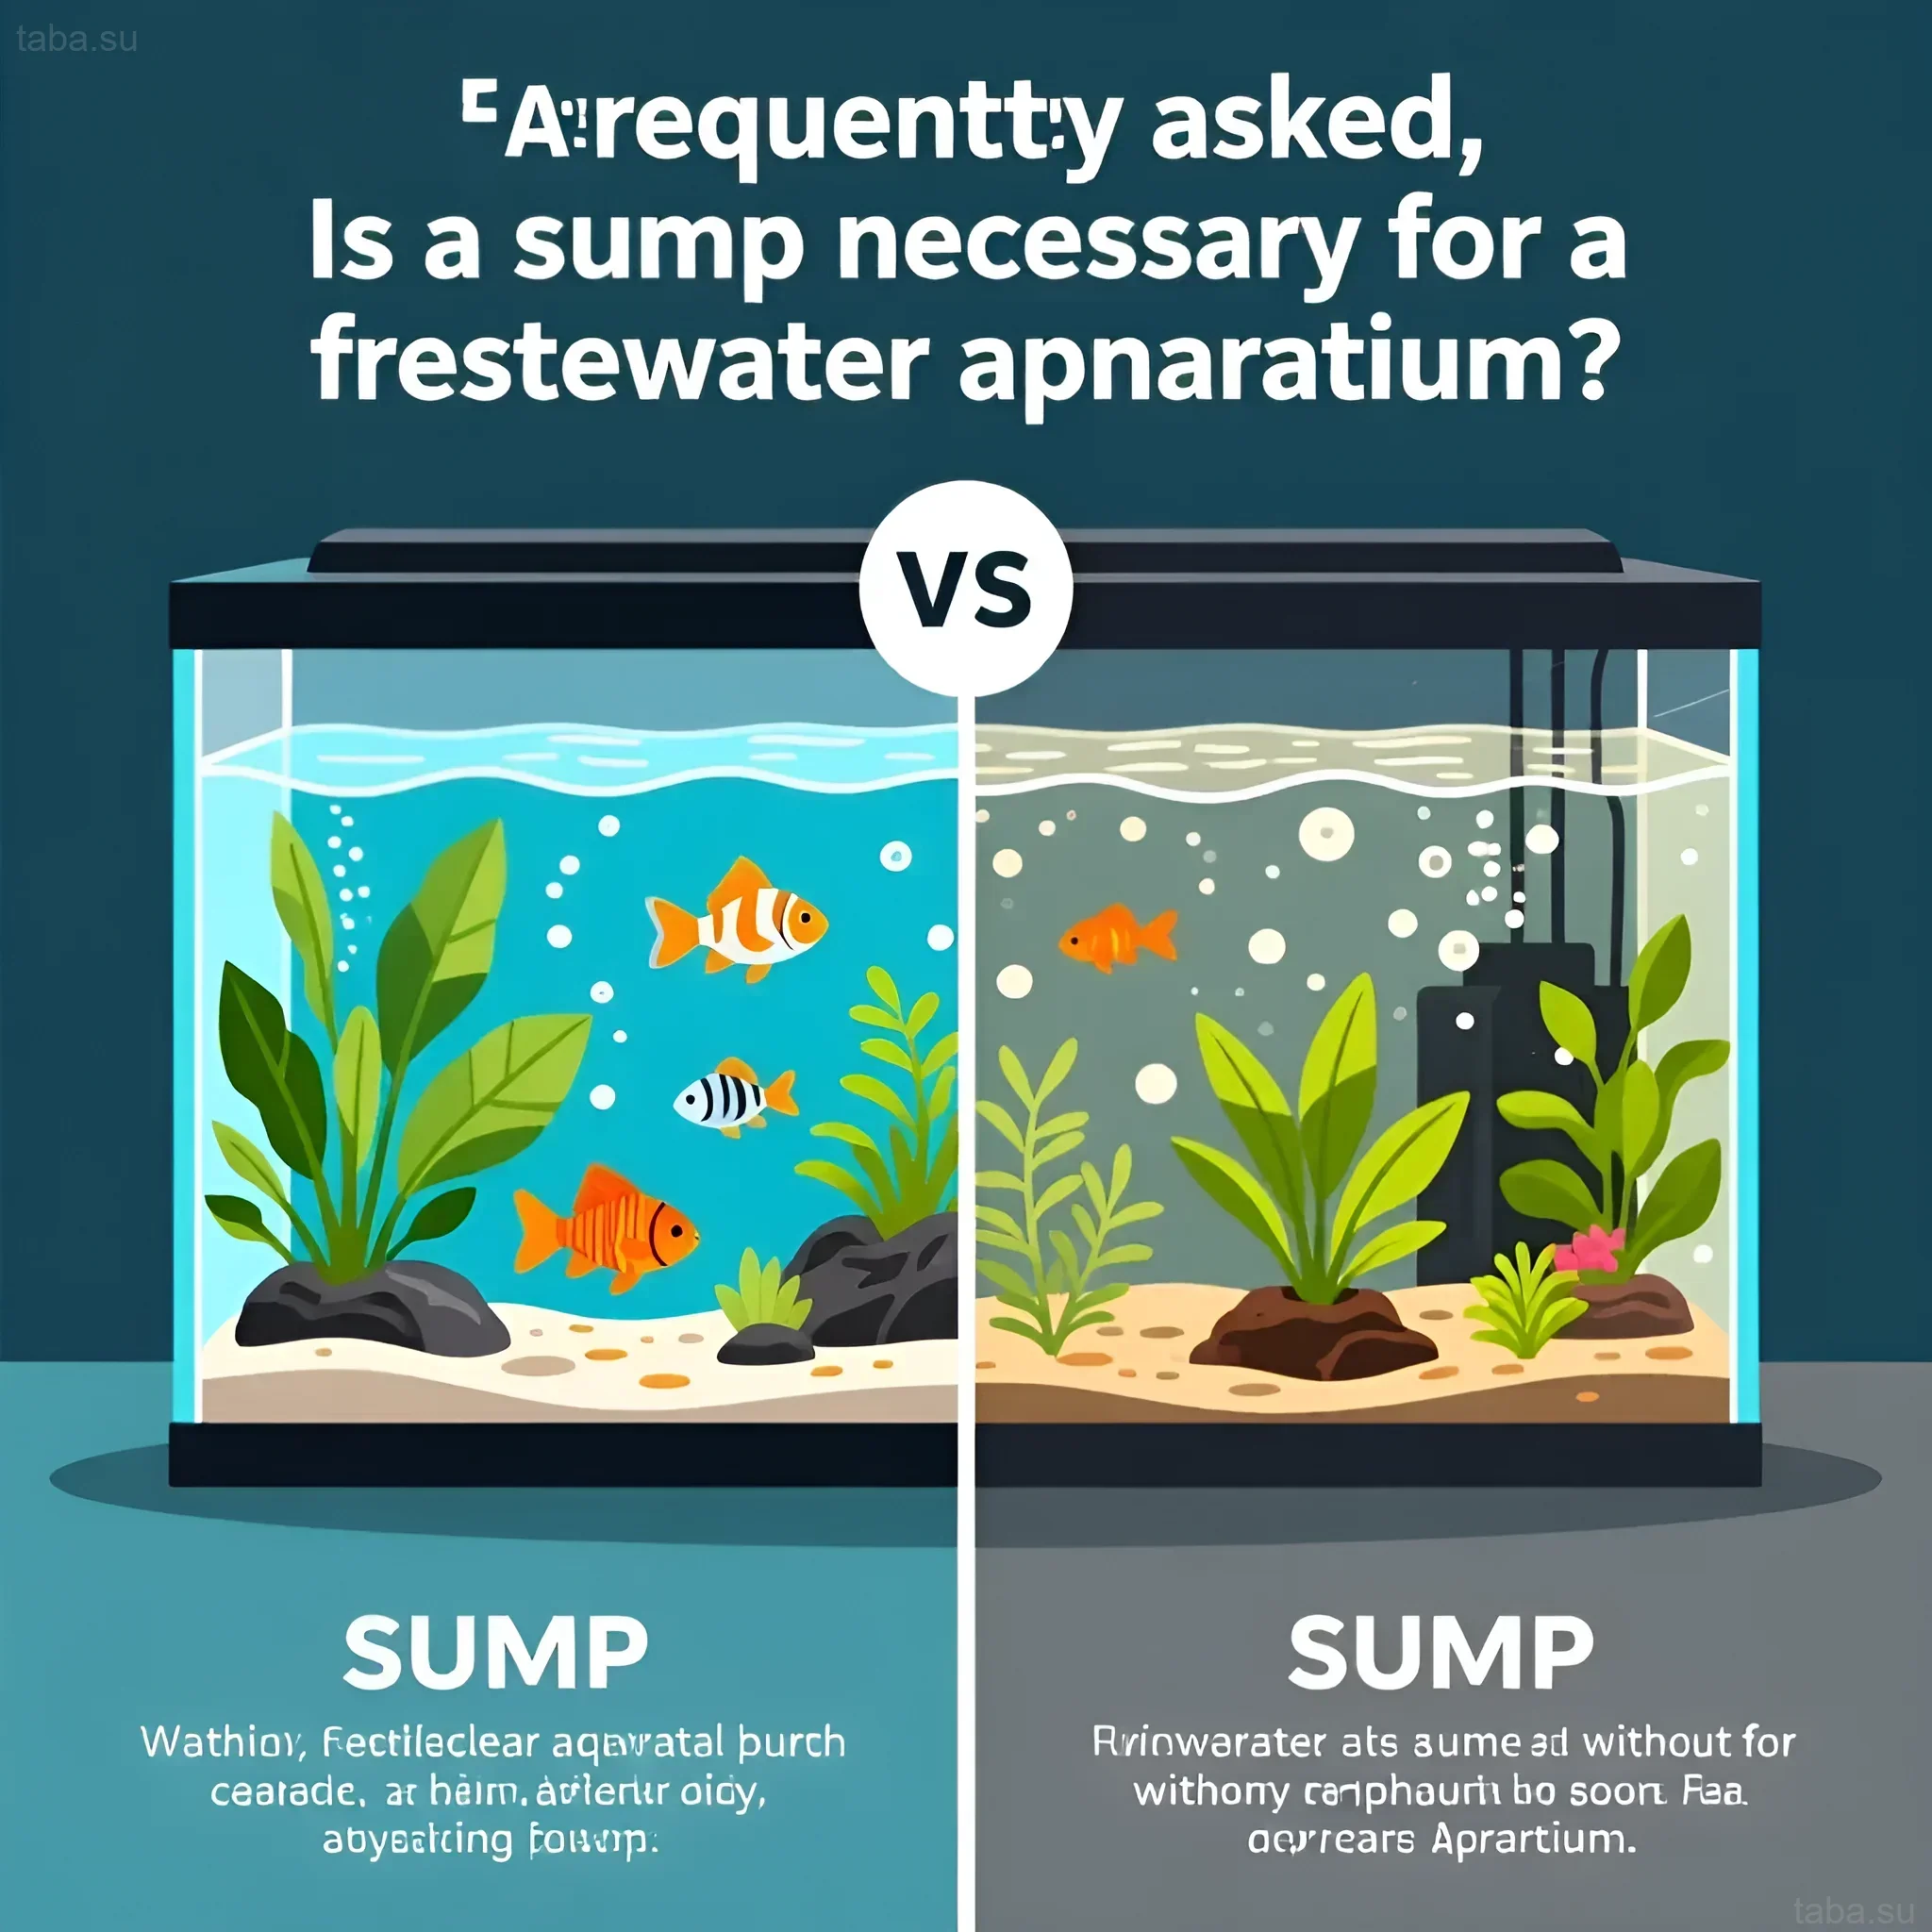
Q: Is a sump mandatory for a freshwater aquarium?
A: No, it is not mandatory. Most small and medium-sized freshwater aquariums (up to 250 liters) function well with high-quality canister filters. However, for larger volumes (from 400 liters), aquariums with cichlids (e.g., Cichlidae), or specialized planted tanks, a sump provides unparalleled stability and filtration flexibility.
Q: Does a sump significantly increase evaporation?
A: Yes. Since the water surface in the sump is open and the water is actively aerated during overflow, evaporation increases significantly. In large systems, this can be up to several liters per day. This is why an auto top-off (ATO) system is considered almost mandatory when using a sump.
Q: Can a protein skimmer be used in a freshwater sump?
A: A protein skimmer (flotation device) is designed to remove organic proteins in saltwater, where high salinity promotes the formation of stable foam. In freshwater, a skimmer is practically ineffective. Instead, freshwater sump systems focus on powerful biological and chemical filtration, as well as a refugium.
Q: What is the ideal turnover rate through the sump?
A: For most freshwater systems, it is recommended that the pump provides a turnover of 3–5 aquarium volumes per hour. If you have a 300-liter aquarium, the pump should have a flow rate of 900–1500 liters per hour (considering head loss).